PROIECT 2012
Proiectele realizate in cadrul Laboratorului de SMP 2012, Fiecare echipa are de completat in pagina WIKI corespunzatoare proiectului in cadrul tabelului de mai jos, in functie de grupa de care apartine La o grupa se poate implementa o singura data un proiect.
Lista cu proiectele disponibile o gasiti AICI.
Punctaj Proiect
-
2p Pagina Wiki in format HTML cu capitolele create - poze(diferite stadii ale proiectului) + schema hardware + listing software (microcontroller + OpenWatcom la Z3)
-
5p Functionalitate proiect - punctaj in functie de cerintele cerute/realizate
-
1p Calitatea proiectului - cat de organizati ati fost in realizarea acestuia, cod format frumos, optimizari etc...
-
2p Nota individuala - participarea voastra in proiect, raspunsul vostru la intrebarile laborantului la presentarea proiectului
Cerinte general valabile:
- Toate proiectele se vor integra software si/sau hardware cu placa EV/Z3. Pentru integrarea hardware se va folosi portul serial al placii EV/Z3
- Logica software de baza se va regasi pe placa EV/Z3 si va fi realizata în C + inline assembly folosind template-ul OpenWatcom de la laborator
- Pagina de wiki trebuie sa contina o descriere a ce a realizat fiecare student in cadrul proiectului
- Daca nu puneti pe site alta schema de proiectare hardware se va folosi cea cu PIC16F628A pusa la dispozitie
- Wiki-ul trebuie updat ca sa vad stadii intermediare ale proiectului
Elemente de electronica
-
Pentru a vedea/comanda un pret estimativ a componentelor va propun www.conexelectronic.ro . Gasiti si alte magazine pe Maica Domnului.
-
Letconul ar trebui sa aiba cam 40W , nu mai mult de 60 oricum , iar fludorul la 1mm-1.5mm. Sa aveti si un voltmetru cu voi.
-
Va recomand inainte sa alegeti proiectul sa cititi cateva elemente de electronica de AICI.
2012_333AB_P3
Wiki error: Section name cannot be repeated ' '
Table of contents
2. [edit]
2.2.1. Theacher Proposal
2.3. III. User Flow
2.4. V. Hardware Design
2.5. VI. Software Design
2.6. VIII. Download
2.7. IX. Status
Project Name [edit]
[edit]
I. Project Description
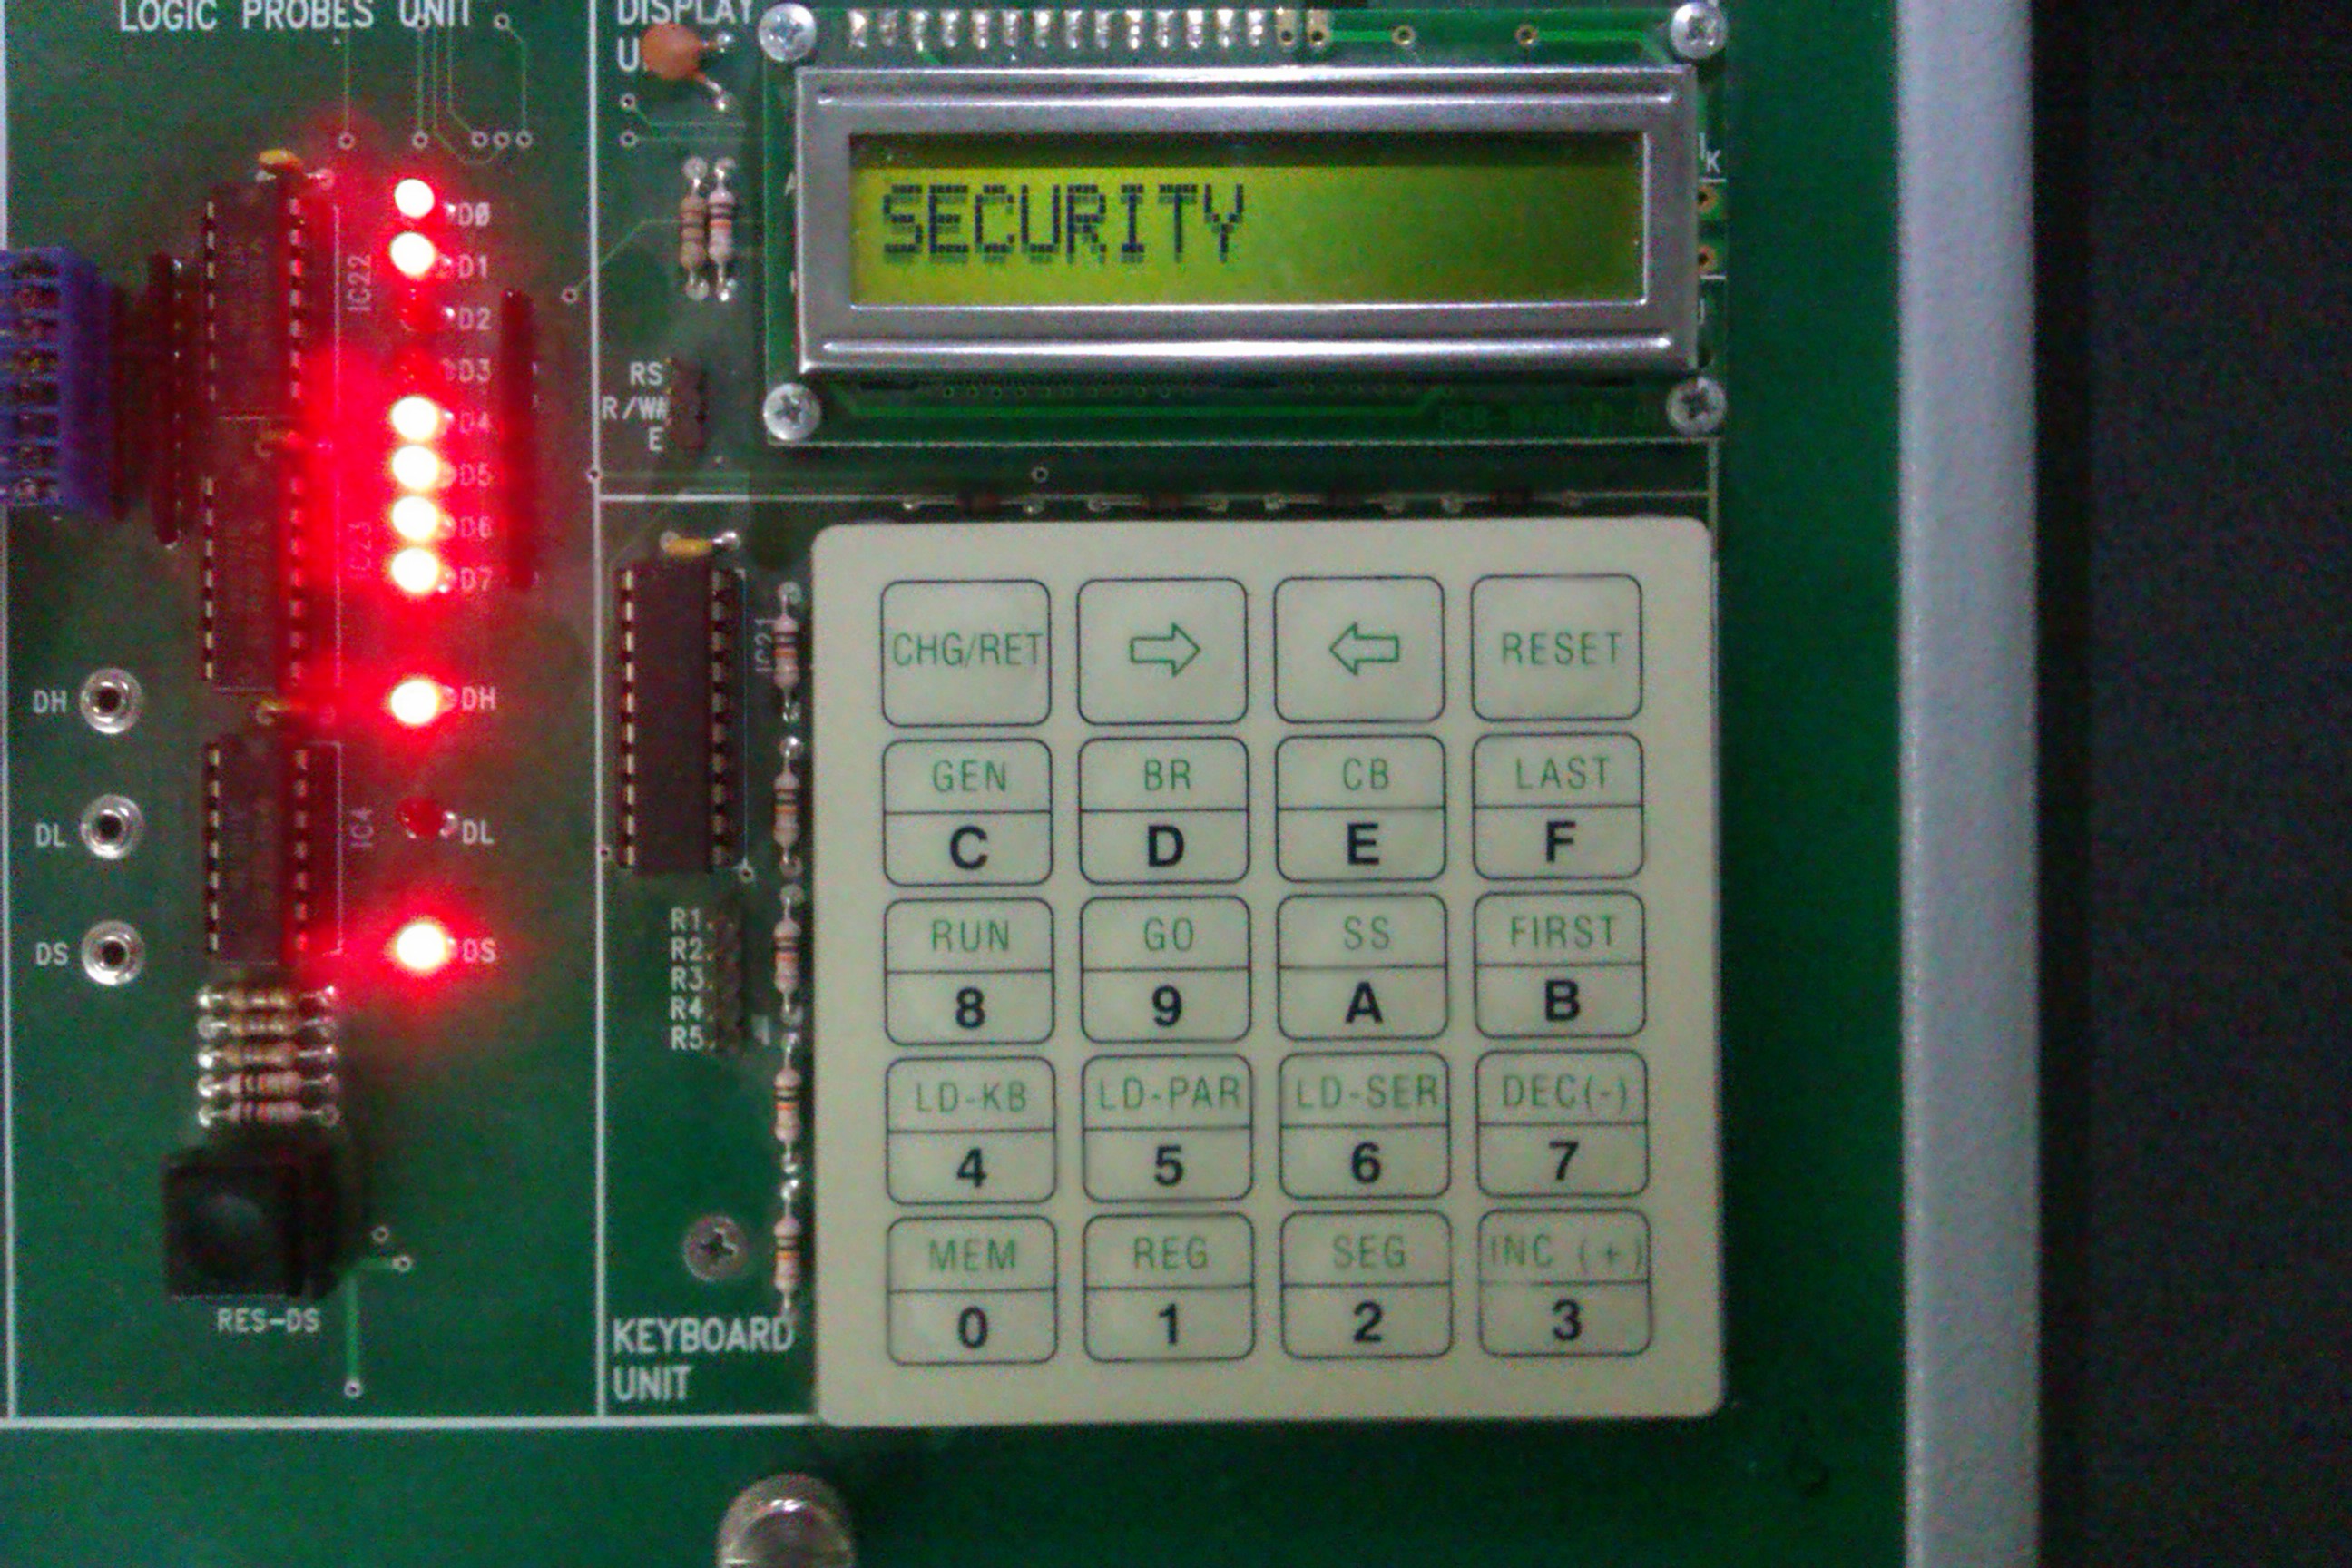
Urmarim sa putem folosi picul pentru a activa/dezactiva alarma printrun cod. Atunci cand alarma este activa picul recunoaste semnalul trimis de senzori, trimite un semnal catre EV/Z3 care va activa buzerul si va afisa pe ecran starea de alerta. Pentru a dezactiva alarma vom apasa o tasta pentru a introduce codul de securitate, dezactivam alarma, pe ecran va aparea alarma dezactivata. Pentru a o reactiva/activa prima data vom apasa iar o tasta si vom introduce codul de securitate, pe ecran va aparea alarma activata.
II. Project Requirements
What does the project require to be implemented (both hardware and software). Expected behavior.
Piesele componente, un program de proiectat placute(cazul nostru eagle), imprimanta coli de imprimare, placa singlesided, FeCL3 pentru corodare placuta, letcon+sacaz+fludor, programator de PIC, hiperterminal (pentru testare daca PIC-ul primeste si trimite serial)EV/Z3 pentru teste de software.
Theacher Proposal
III. User Flow
Cu o aplicatie de securitate se poate implementa foarte usor un sistem de alarma, un sistem de recunoastere a scurgerilor de gaze, apa... ce trimite mesaje prin modulul GSM, ce activeaza o sirena, ce trimite mesaje prin serial/fir telefonic despre starea unei incaperi.
IV. Required components
PIC 16F628A, 7805 pentru stabilizarea de tensiune, 5 capacitati de 50 uF, 1 capacitate de 10uF, UT232Al, LED verde(verificare daca e circuitul pornit), buton pe 4 pini(pentru reset), switch pe 3 pini(2 pozitii(pentru pornire/oprire)), baterie lipo 7.4V (alimentare), 4 rezistente.
V. Hardware Design
PCB
VI. Software Design
/****************************************************************************
*
* Laborator SMP - 80386EX Z3/EV Real Mode
*
* Portions Copyright (c) 2010 Mihai Matei. All Rights Reserved.
*
* ========================================================================
*
* This file contains Original Code and/or Modifications of Original
* Code as defined in and that are subject to the Apache License,
* Version 2.0 (the "License"). You may not use this file
* except in compliance with the License. BY USING THIS FILE YOU AGREE TO
* ALL TERMS AND CONDITIONS OF THE LICENSE. A copy of the License is
* provided with the Original Code and Modifications, and is also
* available at http://www.apache.org/licenses/LICENSE-2.0
*
* The Original Code and all software distributed under the License are
* distributed on an 'AS IS' basis, WITHOUT WARRANTY OF ANY KIND, EITHER
* EXPRESS OR IMPLIED, AND SYBASE AND ALL CONTRIBUTORS HEREBY DISCLAIM
* ALL SUCH WARRANTIES, INCLUDING WITHOUT LIMITATION, ANY WARRANTIES OF
* MERCHANTABILITY, FITNESS FOR A PARTICULAR PURPOSE, QUIET ENJOYMENT OR
* NON-INFRINGEMENT. Please see the License for the specific language
* governing rights and limitations under the License.
*
* ========================================================================
*
* Description: Entry point for SMP Z3/EV Project
*
****************************************************************************/
#include "platform_io.h"
#define KACT 0
#define KNACT 10
#define KALRM 1
#define ENTPASS 7
#define STOPALL 17
const char *startup = "SECURITY ";
const char *active = "ALARM ACTIVE ";
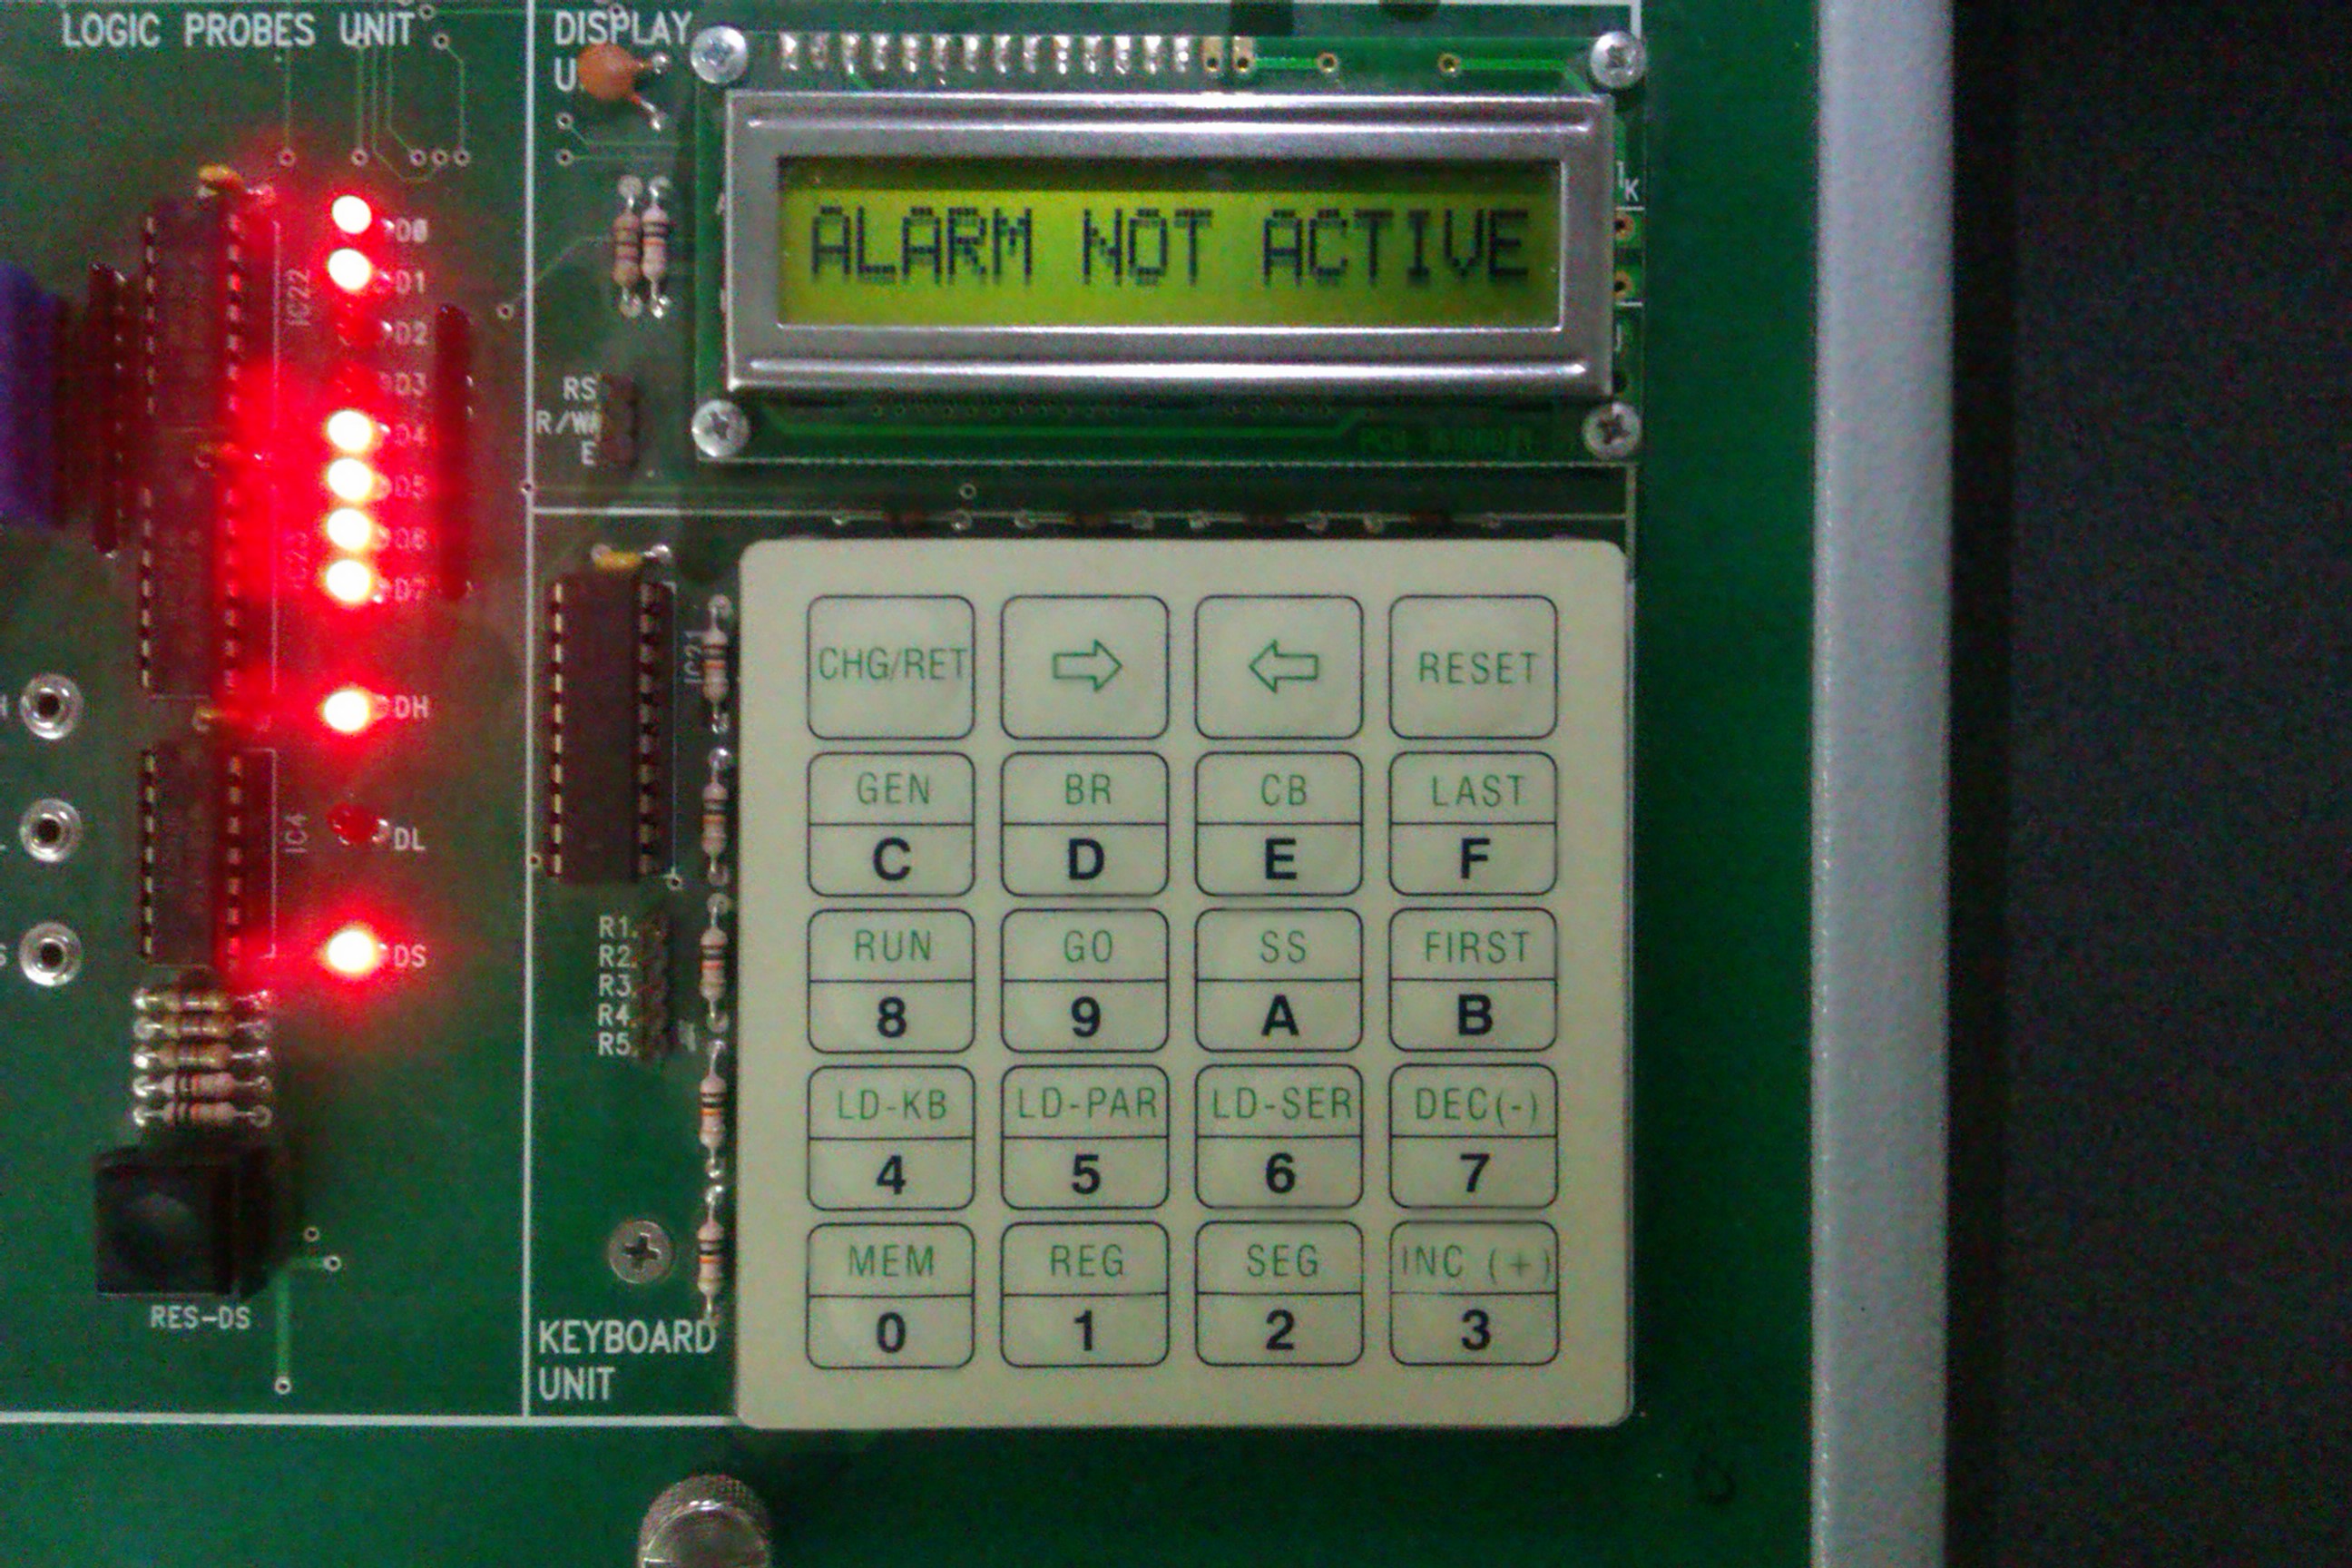
const char *notactive = "ALARM NOT ACTIVE";
const char *alarm = "ALERT! ALERT! ";
int password[4] = {10,1,11,2};
int status = 10;
char pass[4];
static SerialConfig serialConf;
void printStatus(int s) //afisam starea actuala a alarmei
{
if (s == KNACT)
kIo.DisplayString(notactive);
else if (s == KACT)
kIo.DisplayString(active);
else if (s == KALRM)
kIo.DisplayString(alarm);
}
int readPassword() //citim codul de la tastatura
{
int i,x=0;
while(x==0)
{
for (i=0;i<4;i++)
{ pass[i] = kIo.ReadKey();
}
kIo.Wait(1000);
kIo.DisplayString("ERROR ");
if (pass[0] == password[0] && pass[1] == password[1] && pass[2] == password[2] && pass[3] == password[3])
x=1;
}
return x;
}
void toggleStatus() // modificam starea alarmei activata/dezactivata
{
if (status == KNACT)
status = KACT;
else if (status == KACT)
status = KNACT;
else status = KNACT;
}
int main()
{
int key;
unsigned char *buffer;
/* Serial Initialization */
serialConf.baudRate = b9600;
serialConf.parity = none;
serialConf.stopBits = one;
serialConf.wordLength = eight;
/* In order to check what EV/Z3 board is echoing on the serial port
* open Hyperterminal, create a new connection using the above parameters,
* Flow control: Hardware and Settings/Emulation: ANSI, connect and type some chars in it */
kIo.SerialInit(&serialConf);
/* display project name */
kIo.DisplayString(startup);
kIo.Wait(5000);
while(1)
{
printStatus(status);
if(status==KNACT)
{
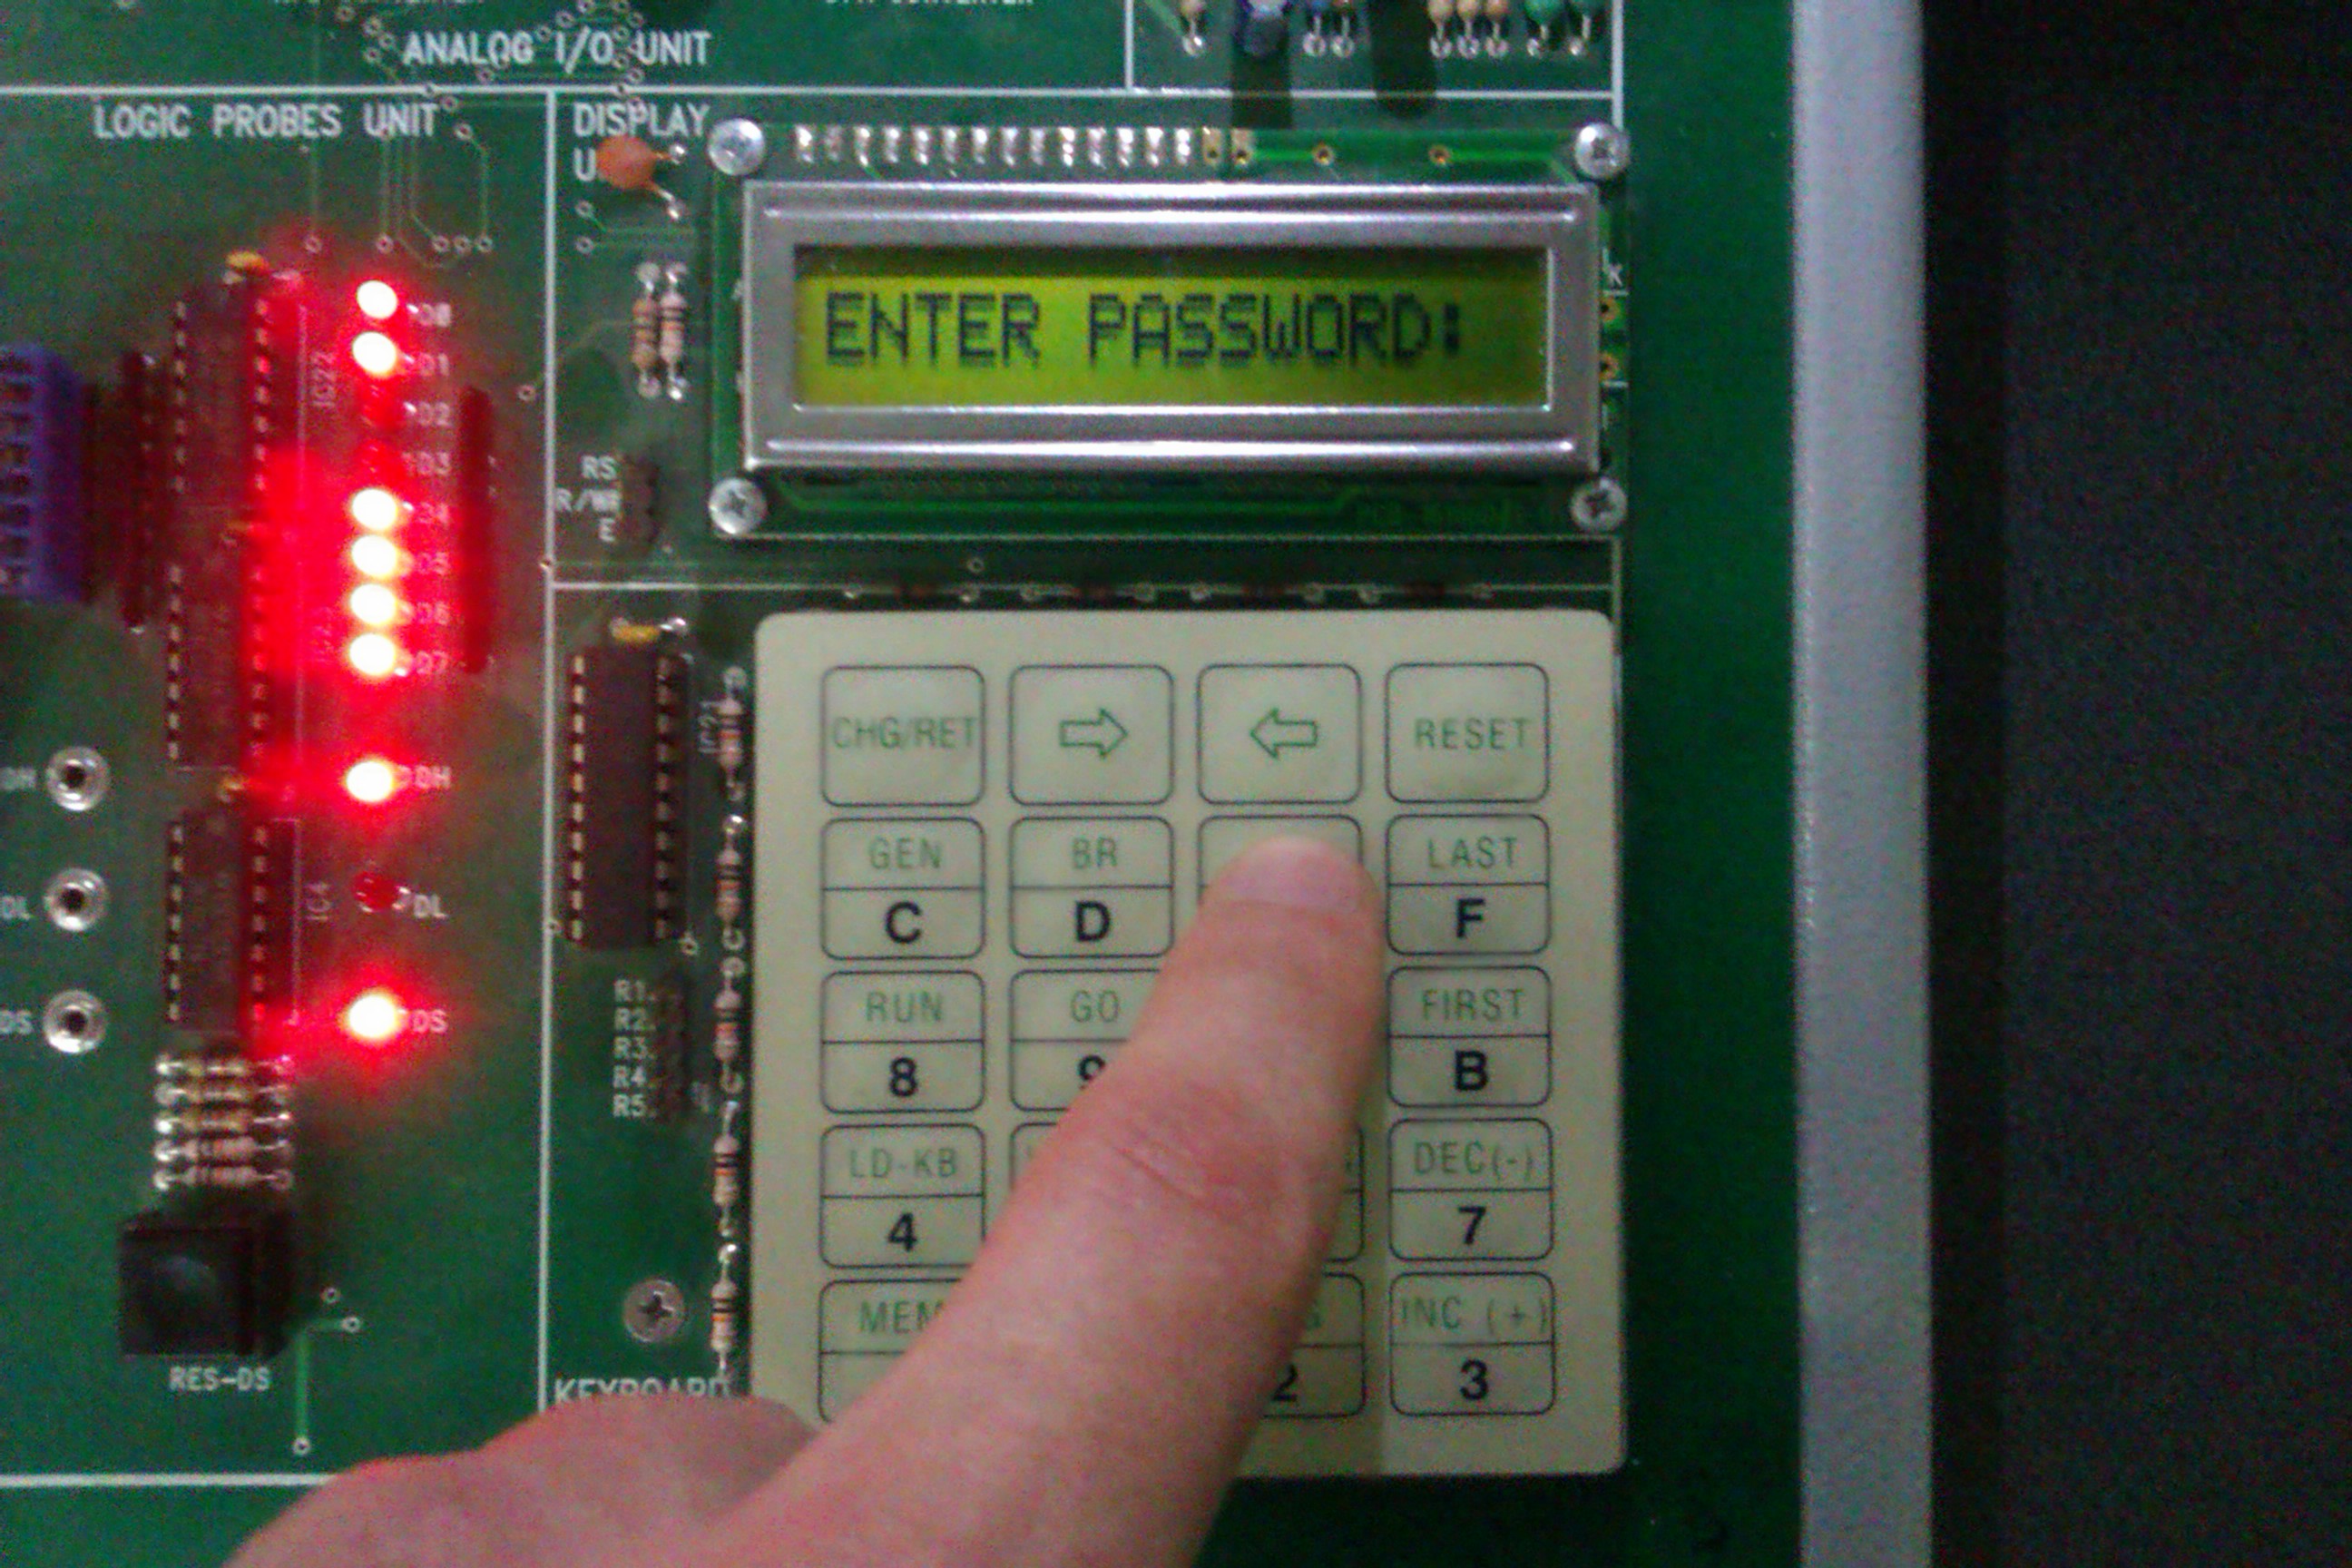
if (kIo.ReadKey() == ENTPASS) //tasta de introducere parola
{
kIo.DisplayString("ENTER PASSWORD: ");
if(readPassword())
{
toggleStatus();
}
}
}
else if (status == KACT && kIo.SerialRead(COM1, buffer,1)== 0)
{
if (kIo.ReadKey() == ENTPASS) //tasta de introducere parola pentru activare alarma
{
kIo.DisplayString("ENTER PASSWORD: ");
if(readPassword())
{
toggleStatus();
}
}
}
else if(status == KACT && kIo.SerialRead(COM1, buffer,1) )
{
kIo.Wait(1000);
kIo.DisplayString("test ");
status = KALRM;
}
else
{
if (kIo.ReadKey() == STOPALL) //tasta de introducere parola pentru dezactivare
{
kIo.DisplayString("ENTER PASSWORD ");
kIo.Wait(2000);
kIo.DisplayString("TO DISABLE ALARM");
if(readPassword())
{
toggleStatus();
}
}
}
}
}
Logica codului implementat pe EV/Z3 este simpla: activam alarma introducand un cod de la tastatura(in cazul nostru 1234(caz in care parola a fost introdusa gresit programul reintra in bucla de citire parola)), asteptam sa primeasca sau comanda de dezactivare alarma sau prin portul serial un semnal de la unul dintre posibilii multi senzori, in urma caruia activam starea de alerta. Dupa activarea starii de alerta apasam pe butonul de introducere a codului de dezactivare.
LIST p=16F628
#include "p16f628.inc"
; variabile
cblock 0x20
status_temp
endc
; variabile speciale, care trebuie vazute indiferent de pagina
cblock 0x70
w_temp
endc
org 0
; AICI BOOTEAZA PIC-ul
; Initializam placa si sarim la program
call init
goto main
org 4
; entry code pentru TOATE intreruperile
; Prologul intreruperii - salvam W si status
movwf w_temp ;salvez W
swapf STATUS,W
bcf STATUS,RP0
movwf status_temp
; In cazul in care mai avem si alte intreruperi ACTIVE
; TREBUIE sa testam bitii de status (daca s-a luat acea intrerupere)
; si sa sarim la handlerul de intrerupere corespunzator
btfss PIR1,RCIF ; intrerupere seriala ? daca e TRUE sare la PC+1
goto next_interrupt ; NU trec la urmatorul test
call handle_serial ; DA apelez handler intrerupere seriala
next_interrupt
; Epilogul intreruperii - restauram W si status
SWAPF status_temp,W
MOVWF STATUS
SWAPF w_temp,F
SWAPF w_temp,W
retfie ; return form interrupt
; Handlerul de intrerupere pentru seriala
handle_serial
bcf PIR1,RCIF ; sterg flagul de intrerupere
movf RCREG,W
sublw 32 ; convert la uppercase
movwf TXREG
return
; /////////////////////////////////
; ///////// initializare //////////
; /////////////////////////////////
init
; initializare porturi
clrf PORTA
clrf PORTB
bsf PORTA,0
; initializare interfata seriala
; Bank0 - access RCSTA | Bank1 - access TXSTA, SPBRG
bsf STATUS,RP0
movlw 32 ; setez baud rate - 9600 - PIC16F62X.pdf pagina 74
movwf SPBRG
;bcf TXSTA,TX9 ; 8 data bit transmit
bcf TXSTA,BRGH ; low speed baud rate
bcf TXSTA,SYNC ; comunicatie asincrona ; From manual NZR format - one start bit, 8/9 data bits, 1 stop bit
bcf STATUS,RP0
bsf RCSTA,SPEN ; activez portul serial
bcf RCSTA,RX9 ; 8 data bit receive
bsf STATUS,RP0
bsf PIE1,RCIE ; activez intreruperea de serial
bsf TXSTA,TXEN ; activez transmisia
bcf STATUS,RP0
bsf RCSTA,CREN ; activez receptia continua
bsf INTCON,PEIE ; activez global intreruperile
bsf INTCON,GIE
return
main
loopme
; PROGRAM PRINCIPAL - aici va bagati codul vostru care modifica PORTURILE DE I/O
; Test Comunicatie seriala
btfsc PORTA,6
goto startalarm
goto loopme
startalarm
movlw 'A' ; transmit 'A' pe seriala
movwf TXREG
goto loopme
;_INTRC_OSC_NOCLKOUT EQU H'3FFC'
;_LVP_OFF EQU H'3F7F'
;_WDT_OFF EQU H'3FFB'
;_CP_OFF EQU H'3FFF'
;_PWRTE_ON EQU H'3FF7'
__CONFIG 0x3F70 ; cuvantul de configurare pentru chip AND pe bitii de mai sus
end
in PIC am incercat sa verificam semnalele de input de la senzori si sa trimitem un caracter serial ce va activa alarma.
VII. Results
Proiectul a fost functional, in afara unui singur fapt nu am putut reprograma picul(eroare de program compilator) pentru un ultim test.

Data about the final project implementation. Includes screenshots, movies, comments about your project in action.
VIII. Download
http://depositfiles.com/files/ppdcivie9
http://depositfiles.com/files/qn3dhj7uj
(codurile sursa, simulari de cod sursa prin diverse proiecte, samd)
IX. Status
6-12 martie facut lista cu piesele necesare pentru placuta
20-26 martie cumparat toate piesele
17-23 aprilie facut schema in eagle
1-7 mai imprimat placuta pcb, lipit piesele
15-21 mai scris cod sursa cat pentru pic atat si pentru EV/Z3, neam decis ca EV/Z3-ul sa detina controlul logic asupra partii de pornire/oprire alarma. Testare compatibilitate program de pe placuta cu cel de pe EV/Z3
X. Personal Contribution
In case 2 or more students were involved, this section will contain what each student has done for the project. You will be asked when presenting project and graded individually on this.